Tag Archives: Print technique

Lockdown printing

This work started before lockdown, but was only completed well into that time here in England. A multiblock linocut on Chinese rice paper that I called Dance of Hope. The central figure is in the Nataraja pose against a Sikkimese endless knot. This was a Bhudist symbol we saw everywhere in Sikkim in February, a time which seems a life time ago, but was only earlier this year. Hand burnished with a wooden spoon, this is the largest print I have made to date. Until I put the final black layer on, I thought it was a complete failure, the colours just didn’t contrast enough. But with the black it just worked. I only produced about five as hand burnishing is really slow and the paper is very fragile.

One copy is framed at the top of our stairs.

White line woodblock

Another new technique for me. I went to a one day workshop at Ardington School of Craft run by Beth Jenkins on the American technique of white line woodblock printing. It was intended to be a simplified form of Japanese woodblock, requiring just one block for the whole image, using watercolour and gouache as the print medium. It is really also closely related to mosaic and stained glass techniques.

Each area of colour is outlined by a gouged groove, the white lines, and then the area flooded with watercolour and the image transferred to thin paper by hand burnishing. Only a small area can be done at one time, so the paper and block need to be kept in register the whole time. Only one print at a time can be produced, and all will be different in colour. You can have indefinite print runs.

My first block, based on a photo I took off razor bills at St Abbs Head. The block itself is beautiful at the end.

I’m working on a second print in my studio. A roosting kittiwake I sketched at Dunbar. Still working out the best colour scheme.

Japanese woodcut

I’ve just completed an excellent two day workshop at Ardington School Of Crafts run by Laura Boswell. An introduction to Japanese woodblock printing. An art form I love but I have never tackled before.

I started with an image of pine trees falling into the sea on the end of Furzey Island in Poole Harbour. I photographed it last week and even did a sketch of it in charcoal whilst sitting cross legged on the roof of my boat.

Laura took us through the stages of breaking the design down into blocks which would build up the image. These are carved on both sides of the wood block and coloured using horse hair brushes, watercolour paint and rice paste.

The blocks are printed onto damp paper, using a baren to burnish the back. I produced several multicoloured images and a final, fairly rushed one just in blue, which is very traditional.

It’s a fascinating technique. These results aren’t that great, but they are a starting point. Hokusai, here I come…

Narwhal print process

This was an interesting print in many ways. I only started printing a year ago, so each one is a whole new experience for me. This is a woodblock print, cut into blanks of lime wood I bought in Cumbria. The initial inspiration came from a beautiful photograph of a narwhal in the Geographical Magazine. This lead to a bit of research and a lot of sketching.

Using these sketches, I came up with a basic composition of two whales. Initially I had another tail and a tusk in it, but that looked too cluttered.

Before cutting a block, I spent a week sailing in the Canaries, where we had a wonderful sighting of pilot whales, which gave me thoughts on light on the animals.

I wanted to emphasise the underwater look, and that reminded me of a painting I produced a couple of years ago, based on Natasha Brookes’ short film of swimming in frozen lakes in Snowdonia.

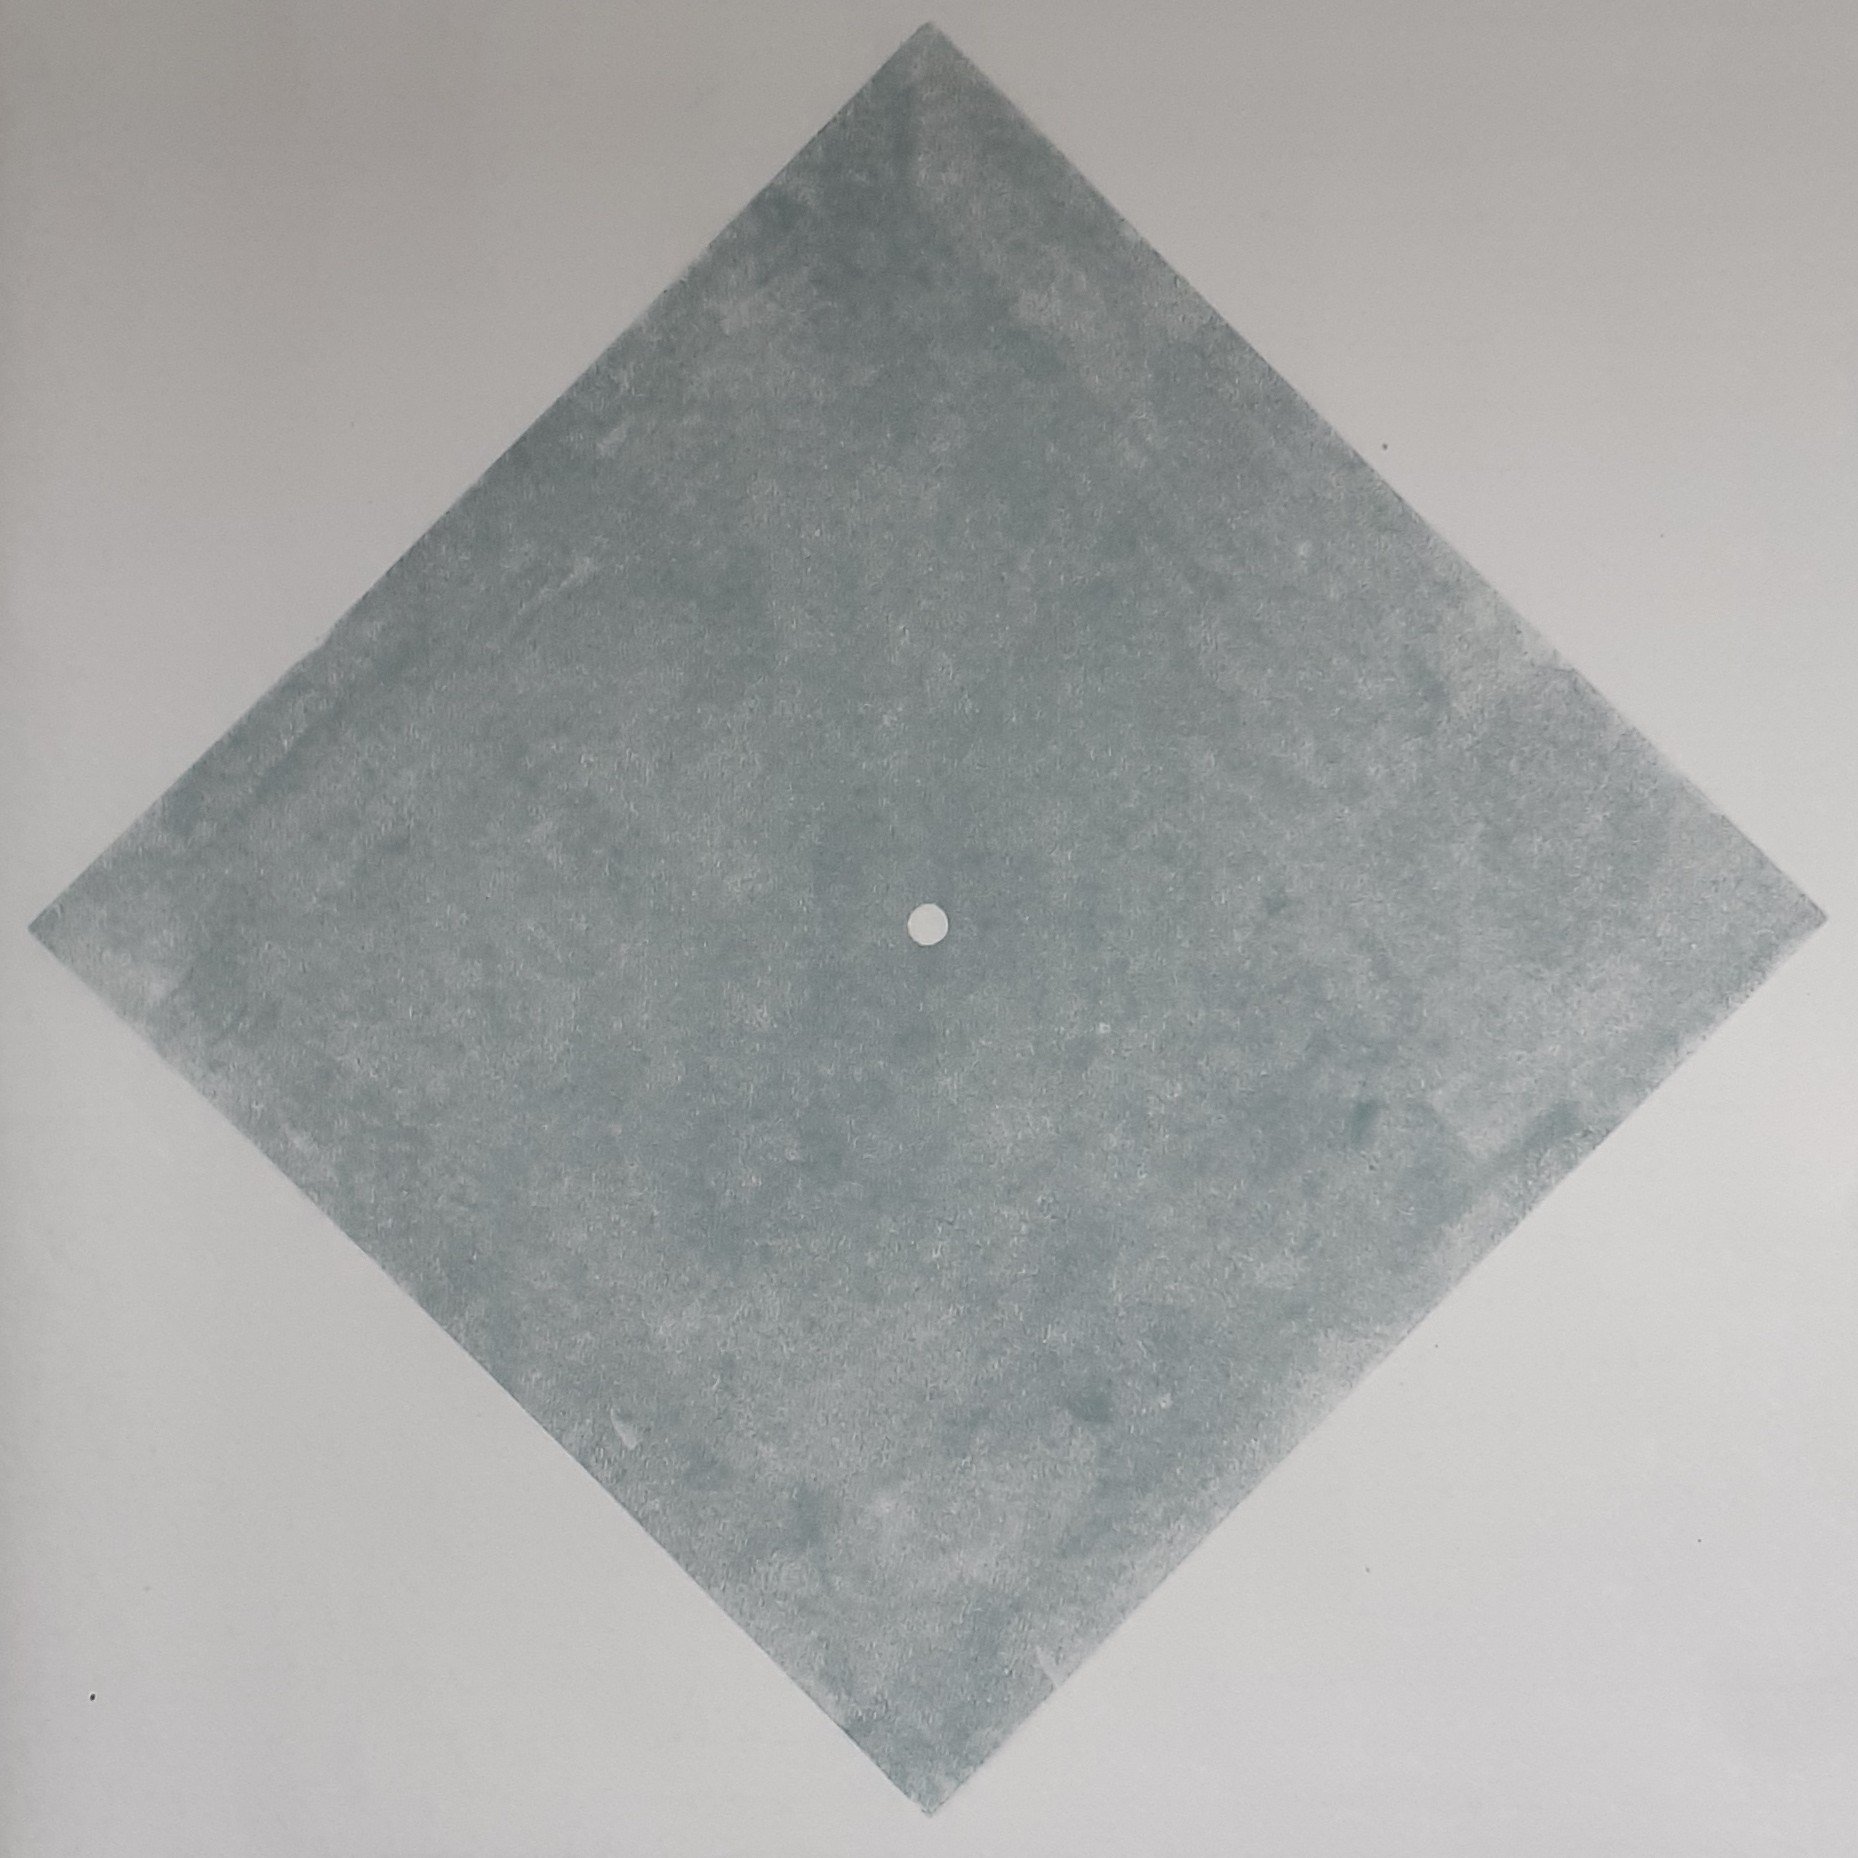
Putting all of these together gave me the basis for the print. The background printed from one block first, using a grade colour to try to give a feeling of deep water below a sunlit surface. The image shows the first layer printed above the inked block.

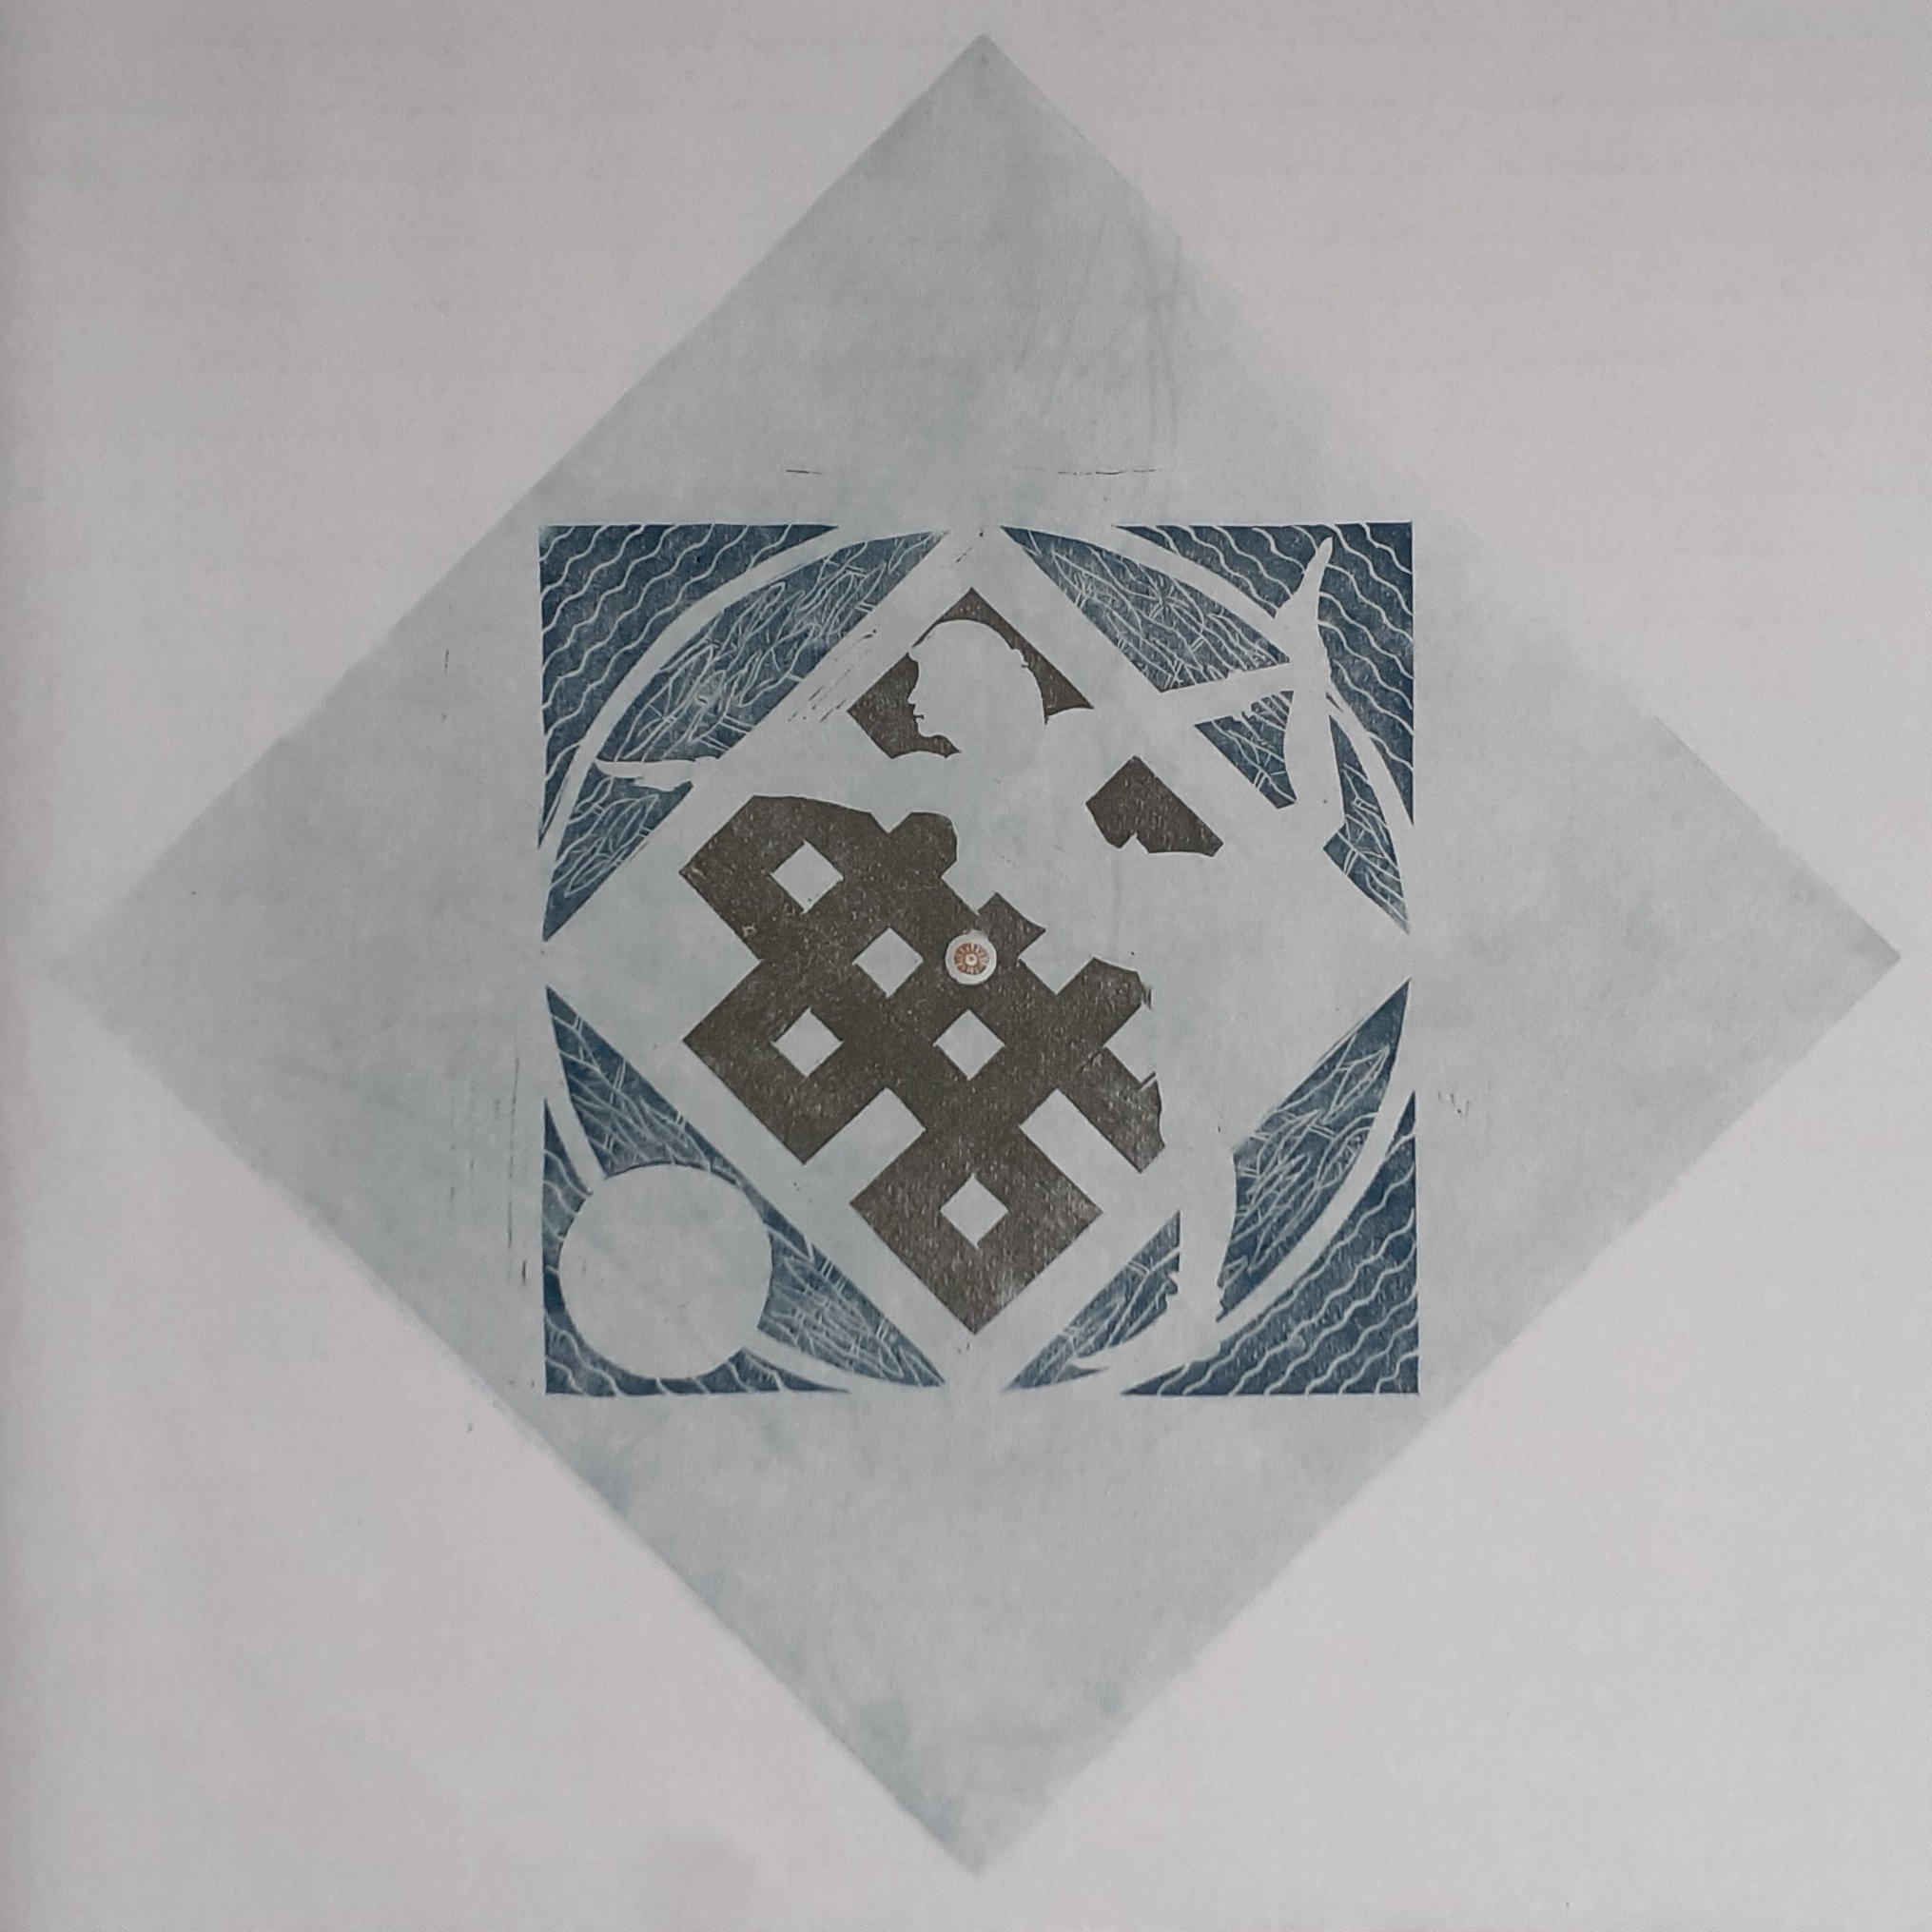
Each whale was then printed from a separate block, so I could vary the density of colour, to heighten the overlap.

One feature of the Snowdonian swimming painting I liked was the hint of schools of fish. Rather than cutting another block, I cut a paper stencil and rolled ink through it onto a blank lime wood block and then pulled a print from that. This smudged the fish a bit, which was probably a good thing.

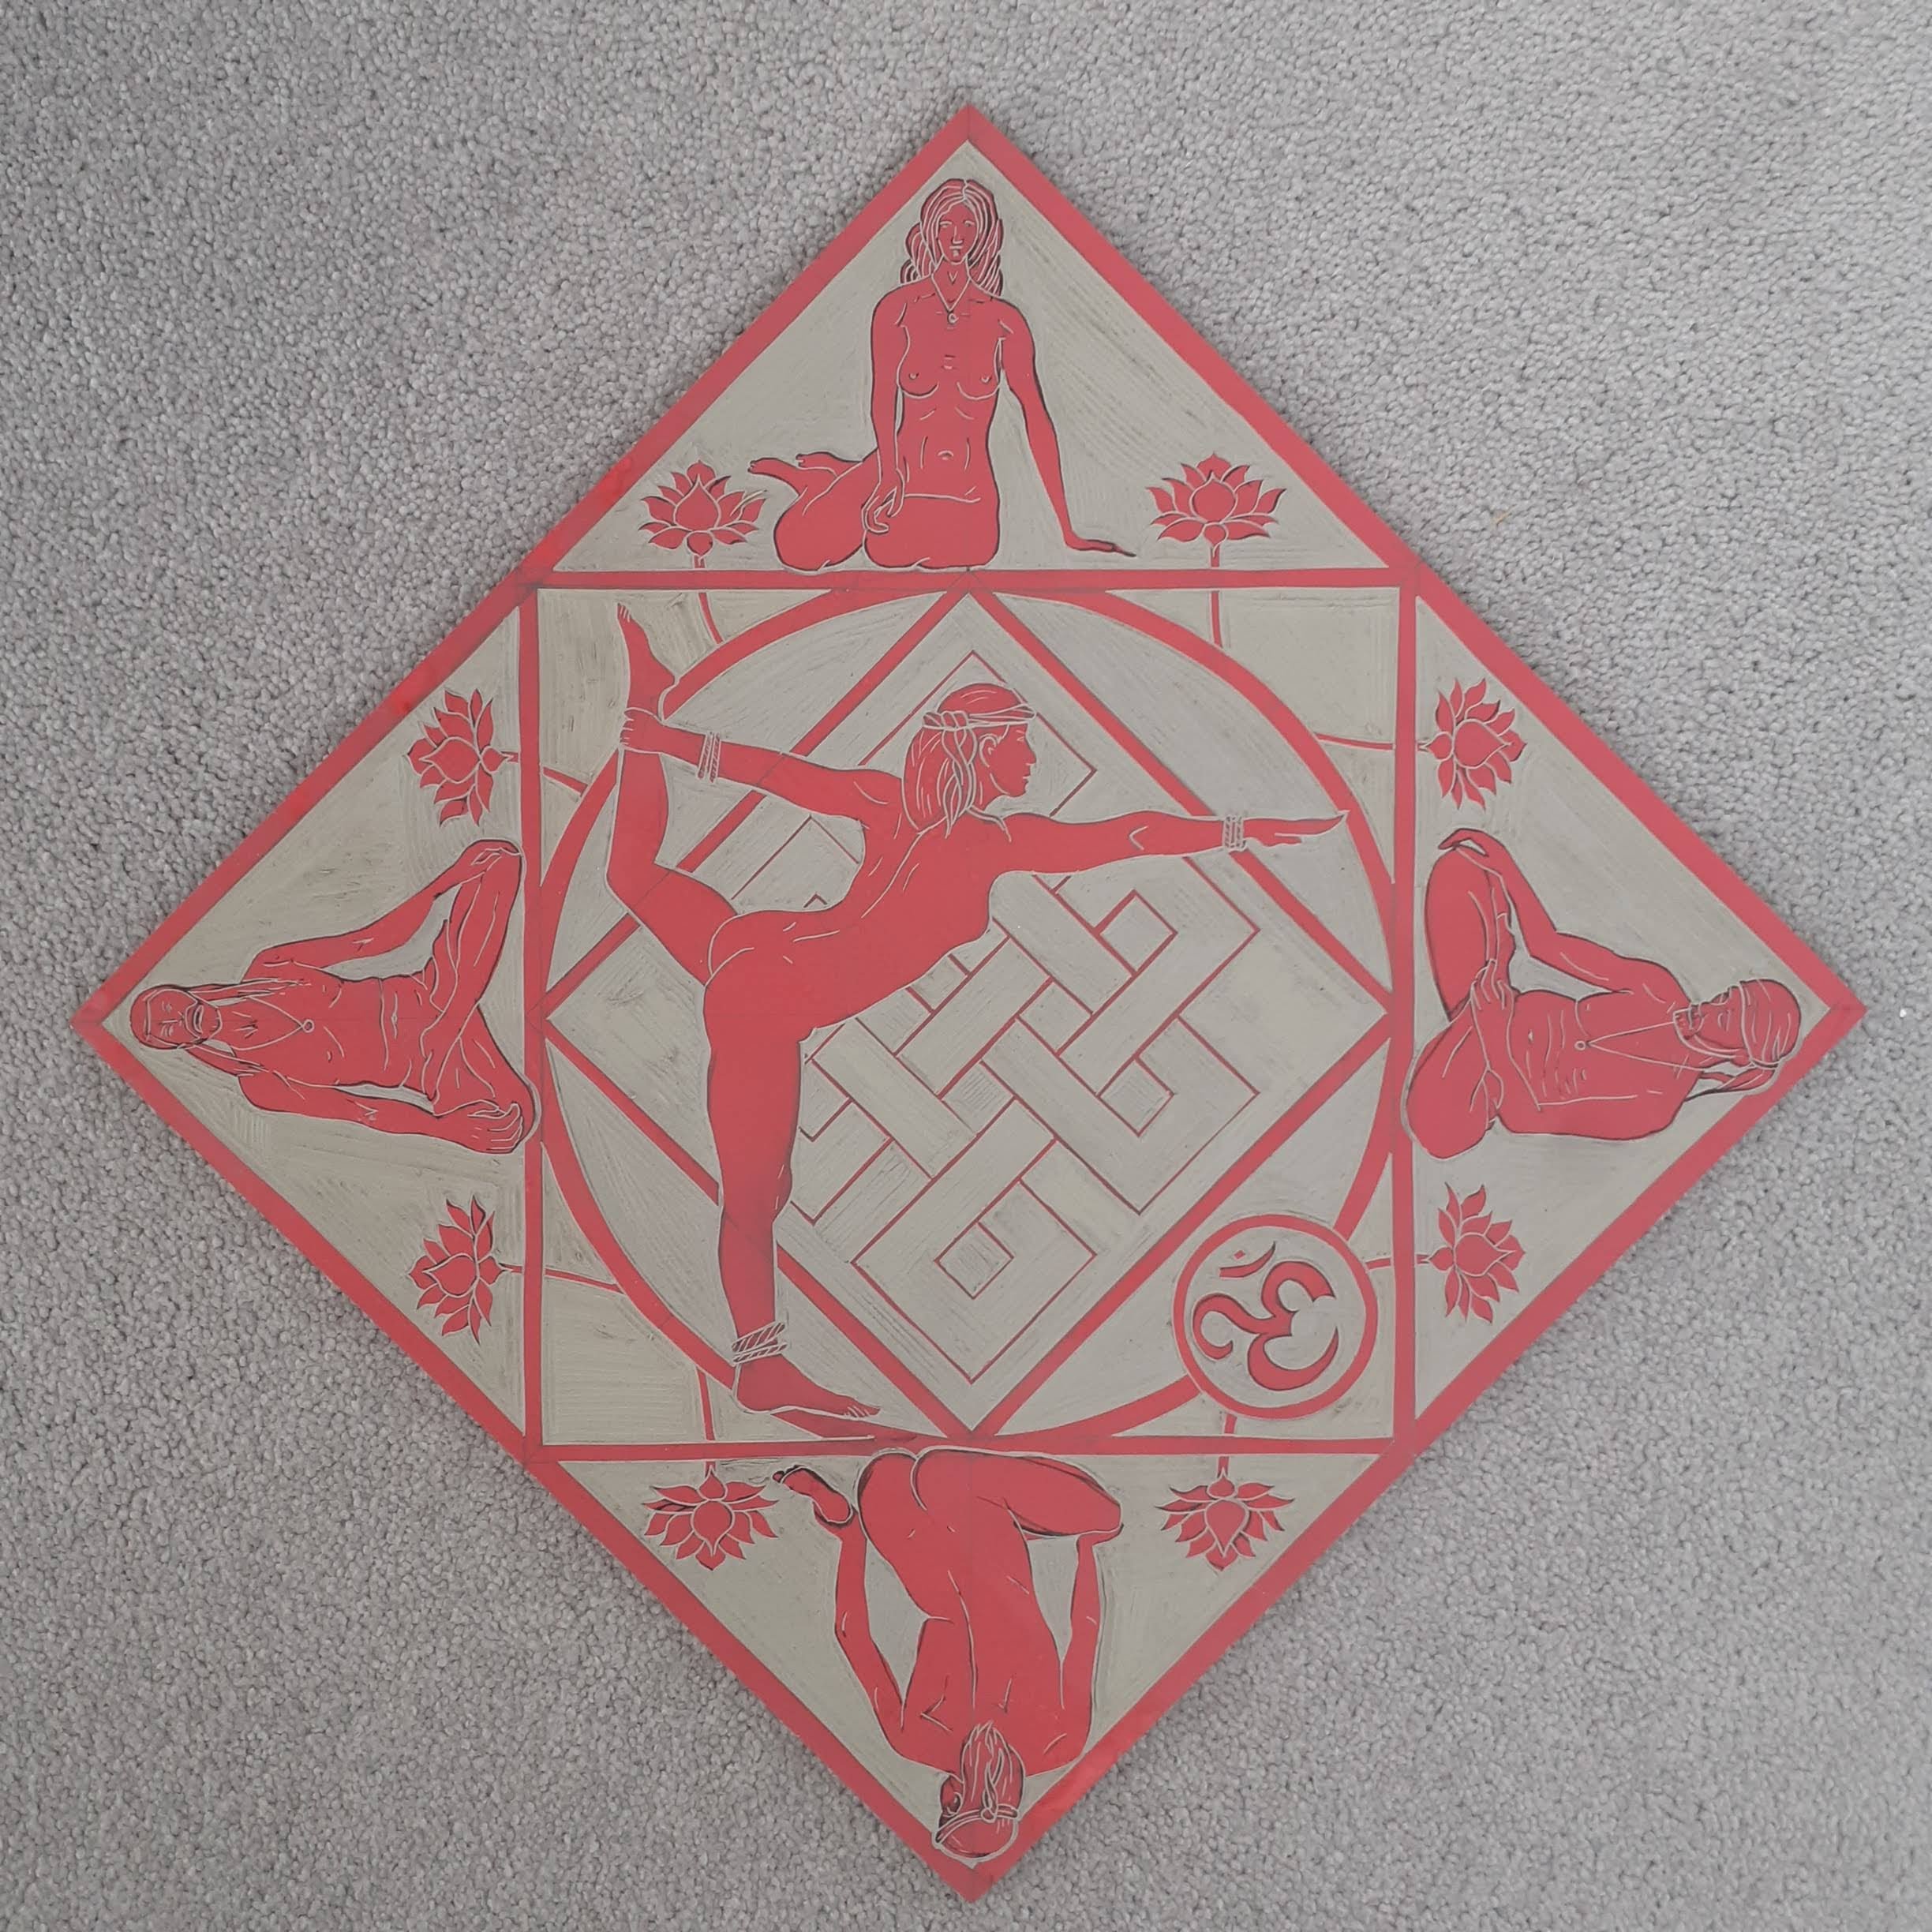
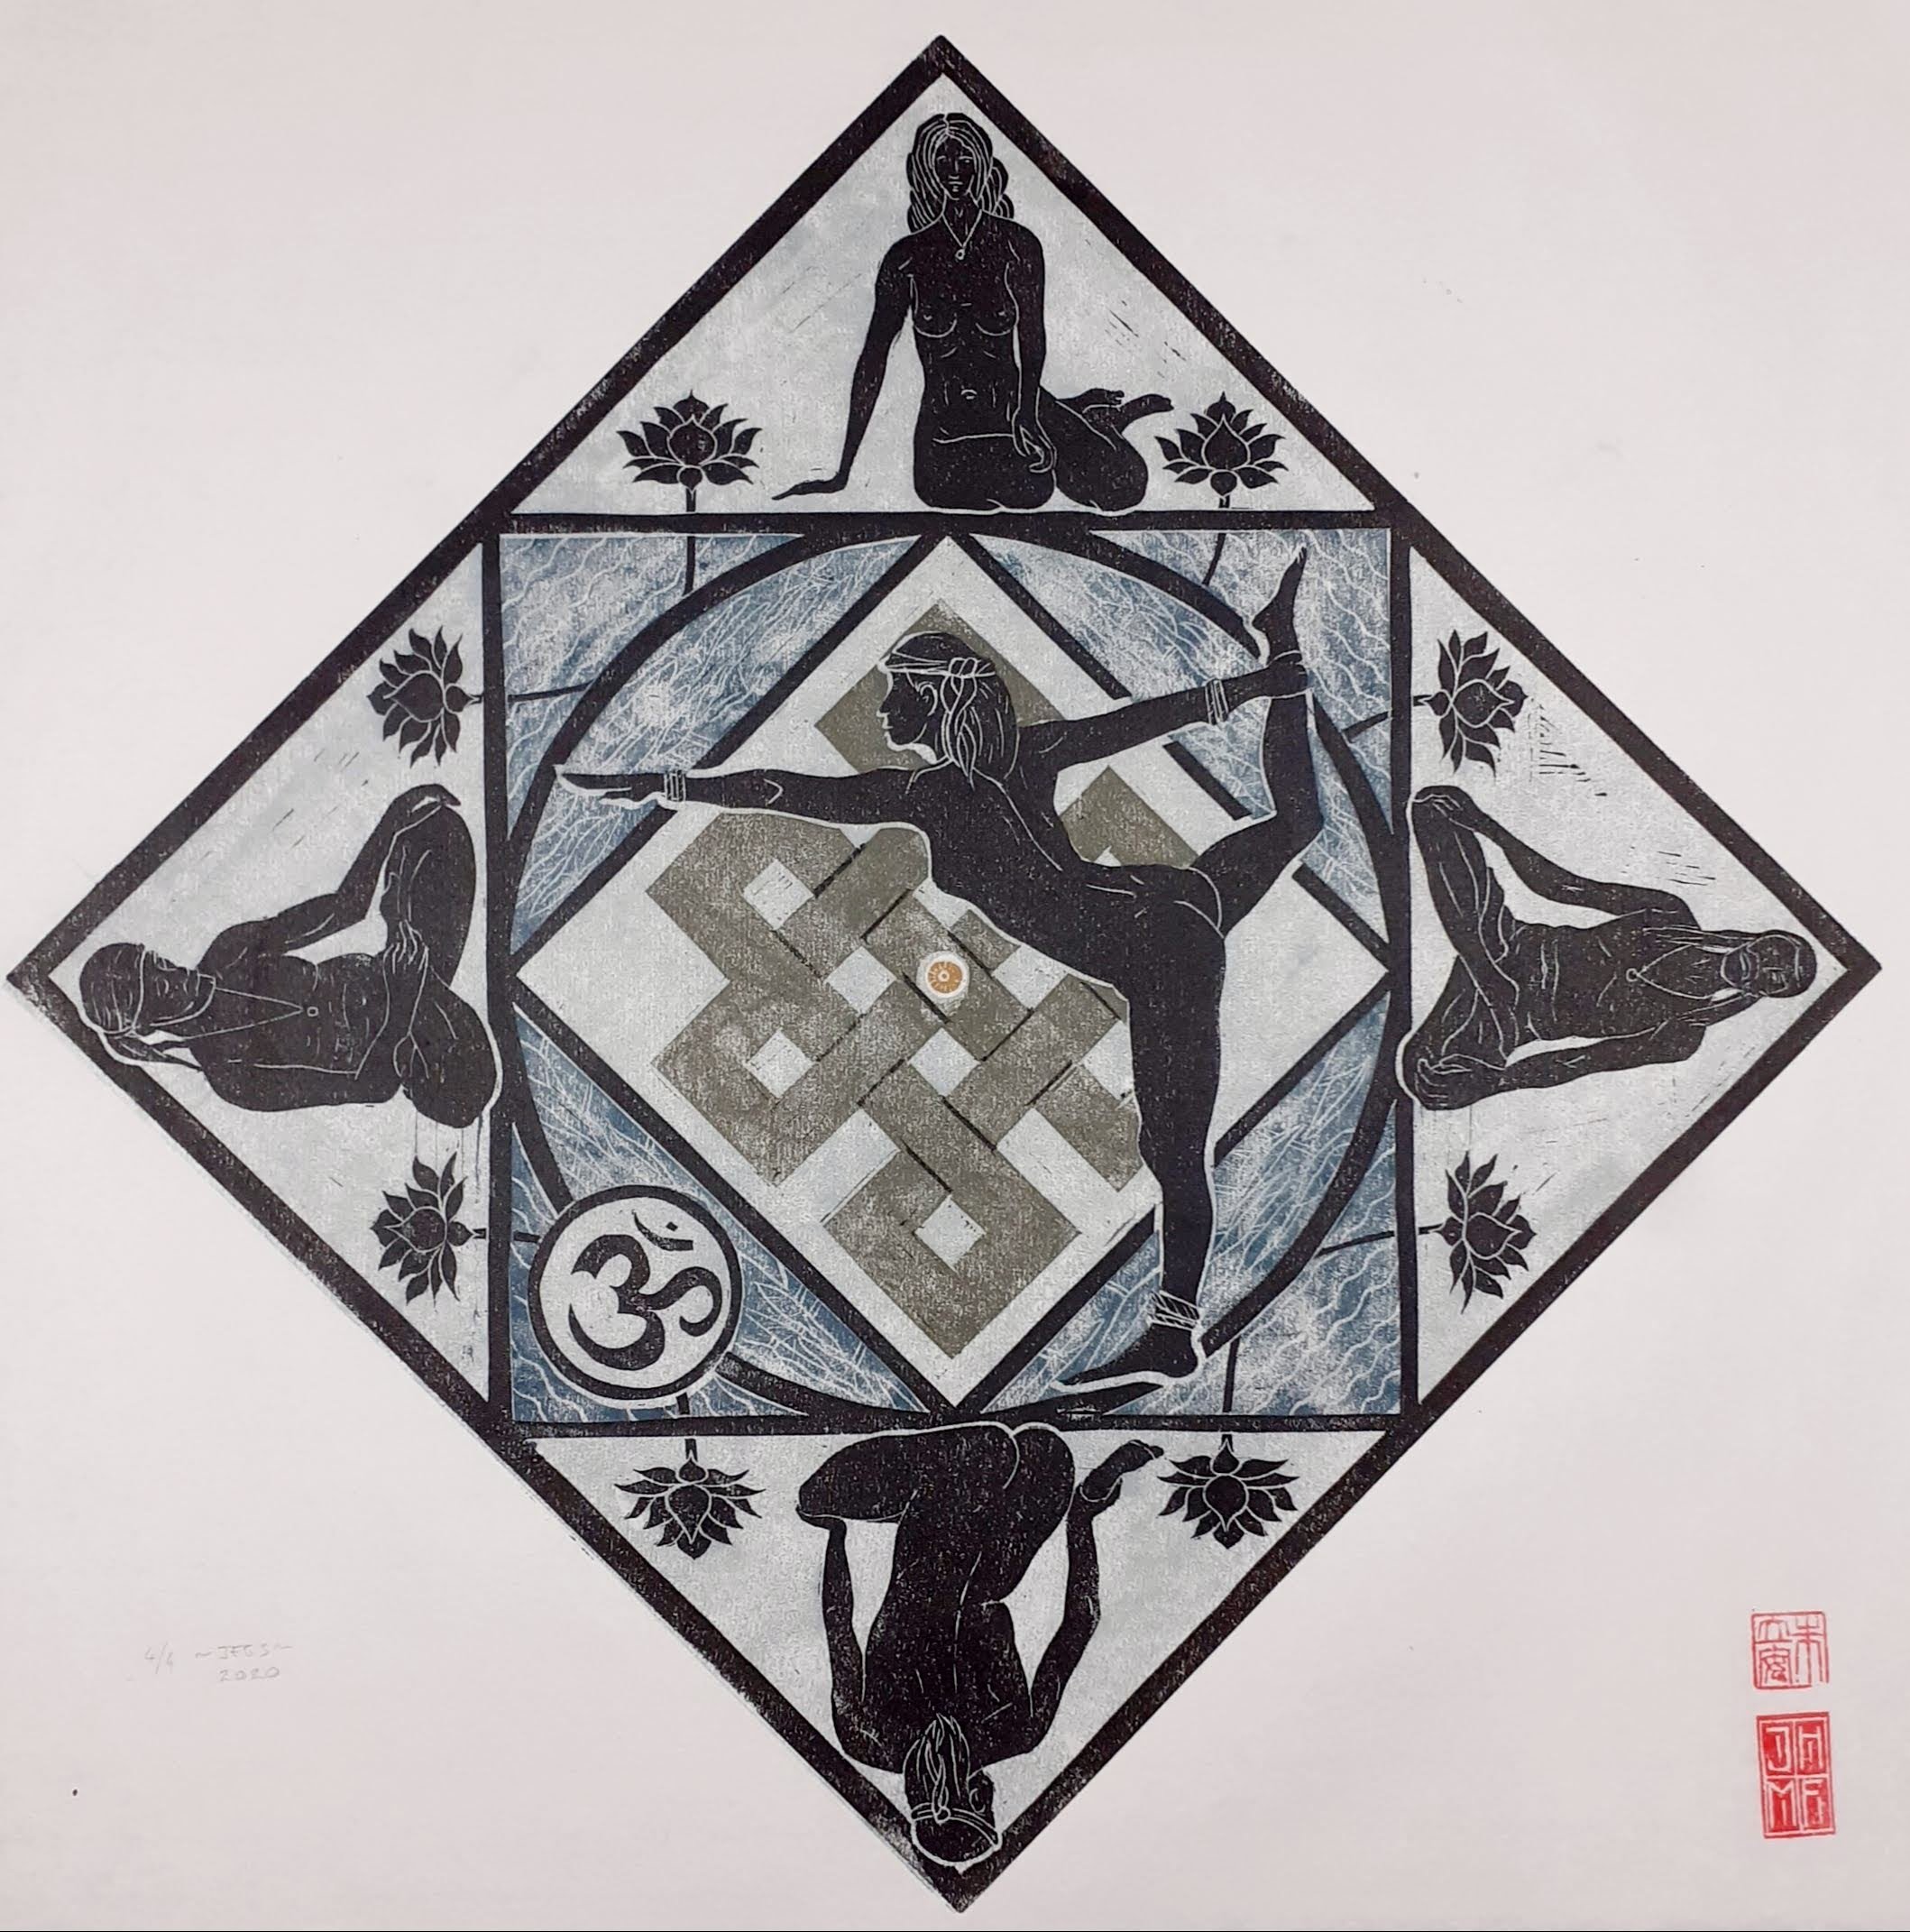
Putting all of this together gave me the final print, which I have stamped in an edition of eight.

Shelduck 4

Printing on the third layer. This should be the colour of the chestnut band around the bird’s chest. Below are the basic tools of the trade.

DSC_0175

The paper located on the Boswell device. The baren, which is the black disk you rub the back of the print with to transfer the ink from the block. A sheet of glass with the ink rolled out “just so” and the roller, which I think printers call the braer for some reason. This is my new soft roller, bought on Laura Boswell’s advice,and she was right, it really makes a difference.

DSC_0177

Paper in place, about to be lowered onto the inked block. Some of the block had been cut away since the previous yellow printing, so they should stay yellow. The rest of the yellow should be covered by the burnt sienna.

DSC_0178

The print lifted after buffing the back with the baren. Next layer will be the red beak, but I really need to leave this to dry fully before doing any more.

DSC_0174